

How To Colour A Grayscale Drawing In Photoshop
Happy New year's day everyone! Time flies! Nosotros merely survived the 2nd COVID-xix lockdown here, and now that kids are dorsum to school it's time for me to start writing once more.
We have a saying in Greece: "Shoemaker'south kids accept no shoes". And my talented web-programmer married man, after having created websites for everyone else, found some time for my own! And so, I accept a new website now! And yeah, 2021 is officially rebranded!
Anyways, today I have a tutorial for you lot, how I add colour to my grayscale portraits in procreate.
Create the color palette
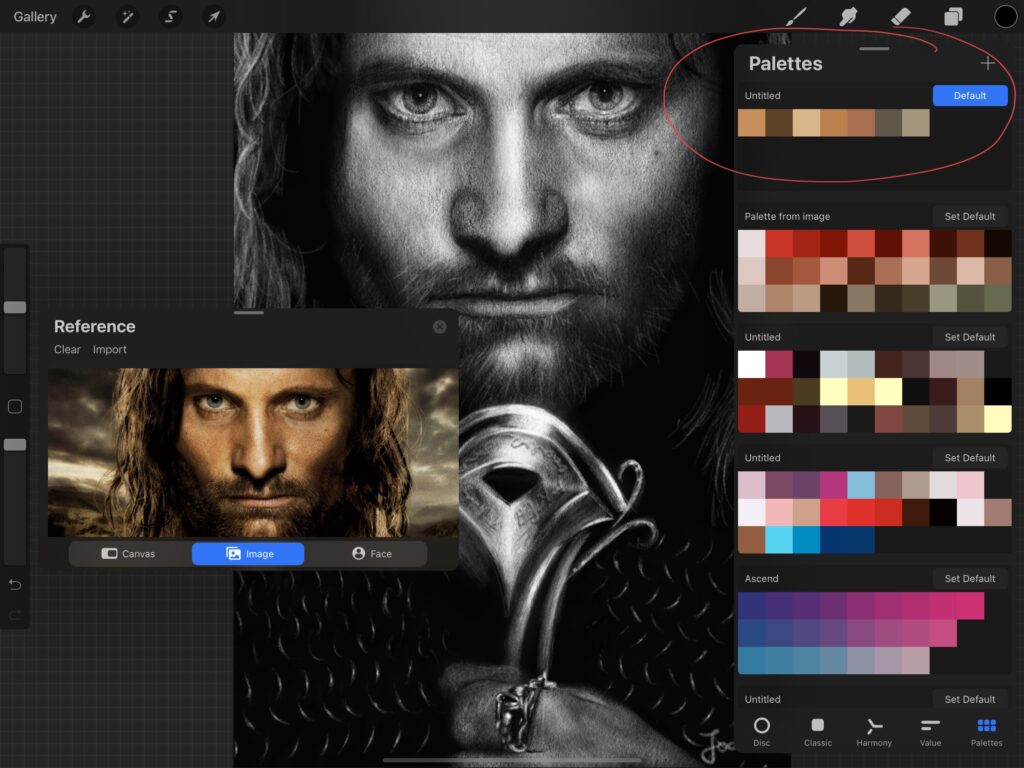
Earlier the actual colorizing, I load my reference photo if at that place is any. (actions->canvas->reference) I create a new color palette where I save selected colors from my reference. I endeavor to choose the most representative colors.
Add a "color" layer
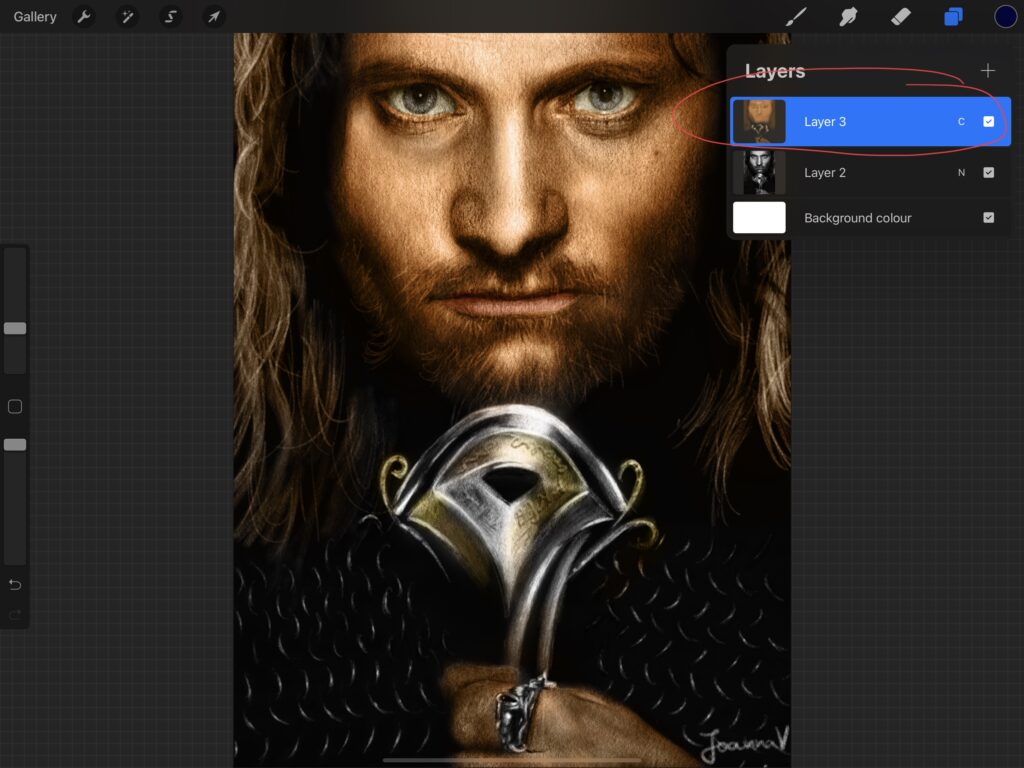
Having my colors ready, I offset off with my grayscale image and what I practice next, is add a new layer and set up layer manner to "colour". Then I paint on superlative with a soft pigment brush, such as the default soft airbrush. The process is similar to when painting from scratch. I try to blend, mix and match the colors, in society to brand the image as realistic as possible.

An extra tip
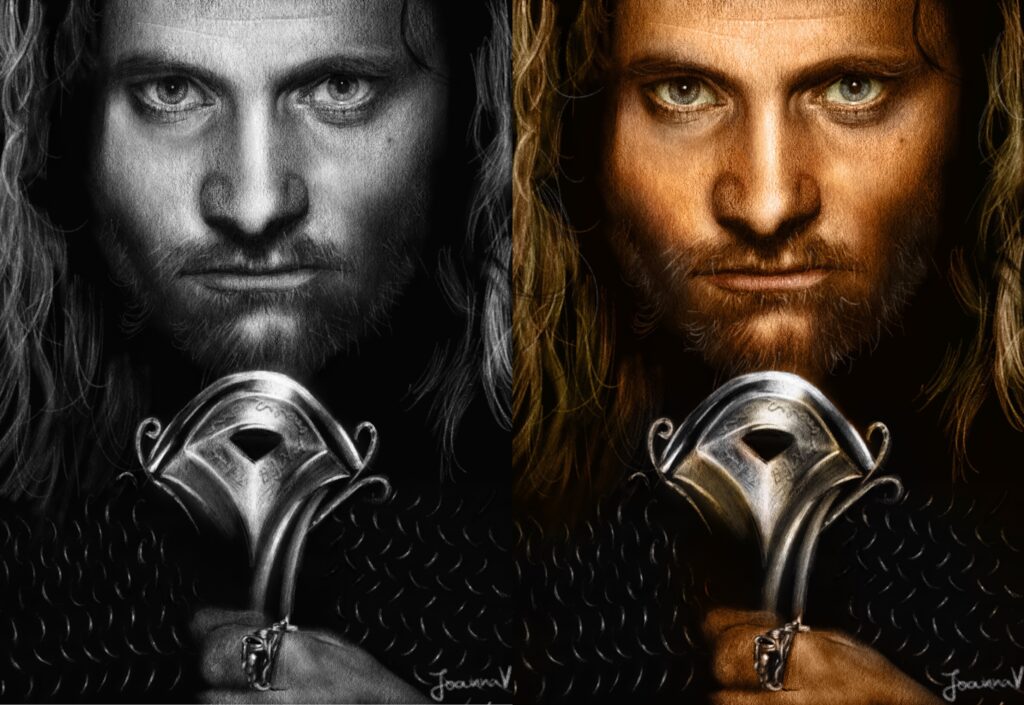
We tin leave it here and call it done, merely what I like to do is add together a couple of extra layers on superlative. I ready the starting time one to "multiply" fashion, where I paint over the dark parts to make them darker and add depth.
And I set up the 2d layer to "overlay" style, where I paint over the brilliant parts with a bright color, to make high points stand out.
And that's all! Grayscale to colour with minimal effort.

Source: https://ioannaladopoulou.design/grayscale-to-color-tutorial/
Posted by: gonzalezclaying.blogspot.com
0 Response to "How To Colour A Grayscale Drawing In Photoshop"
Post a Comment